How To Make A Hat Wall (In 3 Easy Steps)
Do you have too many hats and not enough space? Make a DIY hat wall!
As my hat collection grew, I quickly ran out of places to store them. Stacking them looks cute and all, but you can only stack so many until they end up falling on the floor.
In order to save space in my closet, and reduce the risk of ruining my hats, I decided to create a DIY hat wall so I could hang and organize all my hats safely and easily. I quickly realized that a hat wall was not only fun way to hang hats, but it also doubles as home decor too! ;)
What is a hat wall?
The purpose behind the hat wall is simple: hang all of your hats up on the wall. They're a very practical way to keep hats organized, but that doesn't mean they can't be stylish and interesting to look at too!
Hat walls are a fun way to store and display your favorite hats, while also providing you with a way to organize your collection - plus they double as a cool wall art decor idea!
The best part about making a gallery style hat wall is that you can create this display in any room in your home (bedroom, closet, hallway, entryway, and more). It’s an easy way to transform any wall or to utilize any awkward spaces in your house! Who says your hats can't be an accessory to style both your head AND your home?
Wondering how to make a hat wall? Creating a DIY hat wall is super easy and affordable! Whether you want to hang straw hats, fedora hats, boater hats, or even cowboy and western style hats, this DIY tutorial will help you hang all of your hats in style!
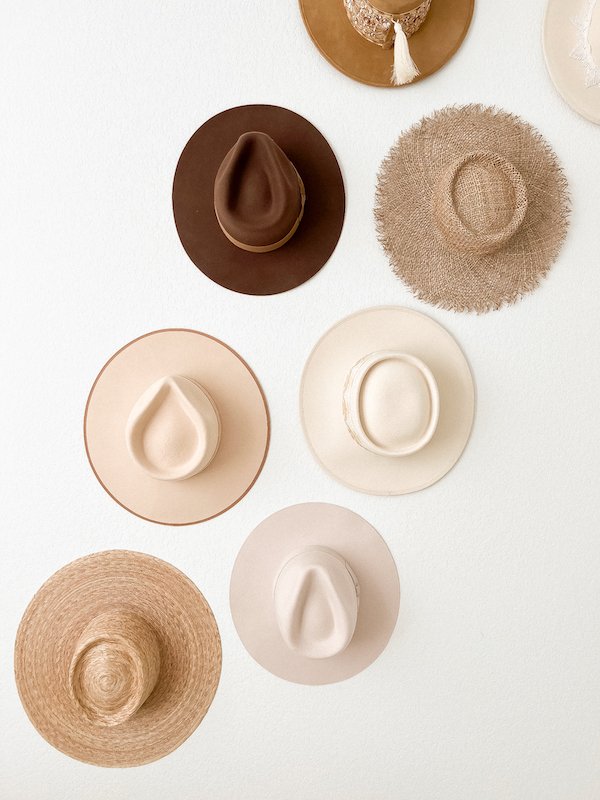
DIY hat wall I created for my old office
How to hang hats on your wall
Before we begin, there are 2 different methods for how to make a hat wall that are both easy and super affordable:
The nail method
The adhesive hook method (nail free & renter friendly)
I personally suggest method 1. It's a cleaner look; the thin nails are small so they're not visible on the wall when your hats are removed, the nail holes are tiny enough to patch with a dot of paint (or not - yes they're that tiny!), and it's more affordable (not that option 2 is expensive either haha). If you live in a rental and are not allowed to make holes in your walls, opt for method 2. But be aware, the adhesive strips can remove or bubble wall paint if you're not careful. Also a side note, after a few years of trying the hook method, I noticed that the hat hooks can cause dents in the brim if they're not placed properly.
What you need to make a DIY hat wall
To make a DIY hat wall you will need the following materials:
A pack of 1 1/16-inch straight pins (aka very thin nails - these are the ones I used)
A hammer
OR
Command Strip adhesive hooks and Command Strip large picture hanging strips (I recommend these because the adhesive strips that come with the command hooks may stick, but they are not strong enough to hold the hats)
Optional: Measuring tape, level, and stickers (to easily mark your place on the wall)
DIY hat wall I created for my old office
How to create a DIY hat wall in 3 easy steps!
1. Plan out your hat wall
When planning out your hat wall you should figure out how you want to arrange your hats on your wall. Do you want to go for a scattered look? Horizontal or vertical row? Curved in the shape of an arch? There are so many different ways to hang hats on your wall, the possibilities are endless! Try placing your hats on the floor in different configurations to help you decide which arrangement works best. Once you have decided on your perfect hat display idea, measure and mark the placements on your wall using a measuring tape and stickers (a pencil works too). Tip: When you measure, make sure to leave enough space in between to accommodate for different sizes of hats.
2. Install your hat hanging materials
Hammer in your nails (aka pins) OR apply your adhesive command hooks to your wall. The pins are thin so make sure you don’t tap too hard or they will bend. Make sure to leave enough of the pin sticking out to support each hat properly. If you're using hooks, make sure to align the command strip properly before sticking it to the wall.
3. Hang your hats!
Once you're finished installing your hat hanging materials (aka nails/hooks), it's time to hang your hats! That's it! Easy right? Now whenever you want to wear a hat, just easily slide it off the wall, style it, and go!
Creating a DIY hanging hat wall display is such an easy and affordable project idea that also adds a pop of decor, you'll want to create one for every room in your house! Who knew hats could be more than just cute hair accessories to wear?
Hat walls to inspire your own DIY hat wall display
Looking for some ideas to create your perfect hat wall? Take a look at some of these creative hat wall ideas that are cute and so much fun to look at, you'll want to copy their hanging hats display!
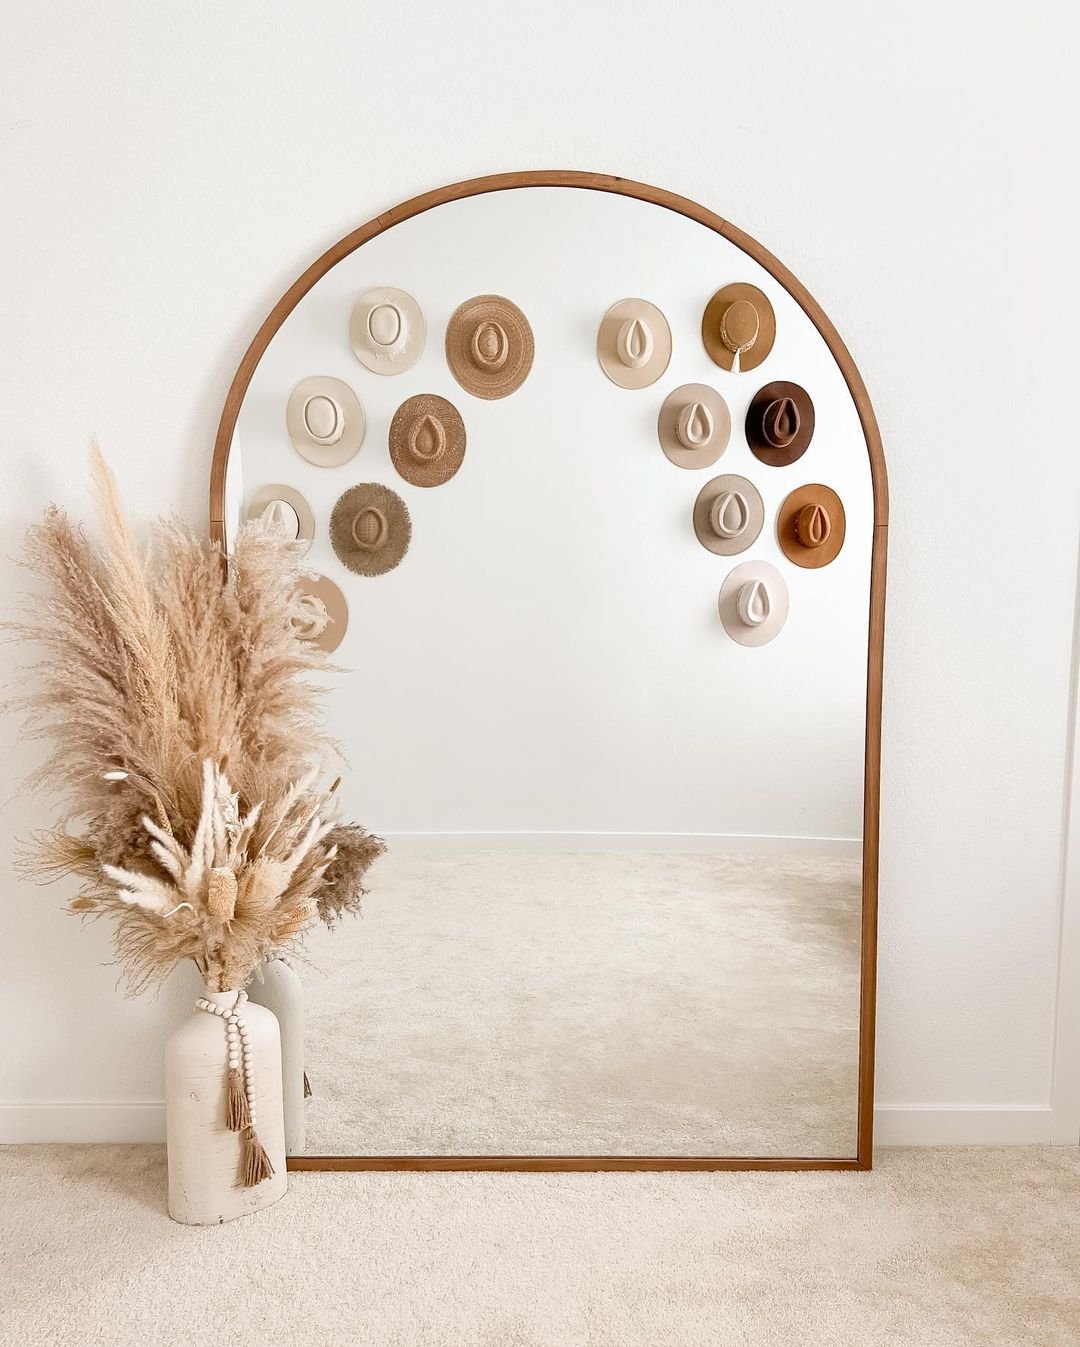
Hat walls are my favorite way to add a little boho chic style to my home decor! I honestly love them so much that I've created multiple hat wall displays throughout my neutral home, including my Instagram famous arched hat wall (seen in my arc mirror photo above).
I hope you enjoyed this easy and affordable tutorial for creating your own DIY hat wall display!
Need more hats? Here's where to shop for them!
Looking for more hats to add to your hat wall collection? Check out some of the best places to shop in this post: The Best Websites to Shop for Women’s Hats


