DIY Basket Light: How To Make A Basket Light Fixture
Do you love the look of a hanging basket lights, but not the expensive price tag and electrical requirements to make them work? I created a simple and affordable way to create your very own DIY basket light fixture! Whether you own or rent, you can easily add a beautiful boho style lighting to your room using any ceiling box cover that already exists in your home!
I love the natural, bohemian look of basket lights. So when decorating my office in our NJ home, I knew I had to add one. Unfortunately there were a few issues: our ceiling wasn’t high enough for anything other than a flush mount style, I didn’t want to mess with any electrical wiring, and I couldn’t find any lights that wouldn’t break the bank…so, I decided to find an alternate solution! Read on to see exactly how I made my own basket light fixture!
you will need:
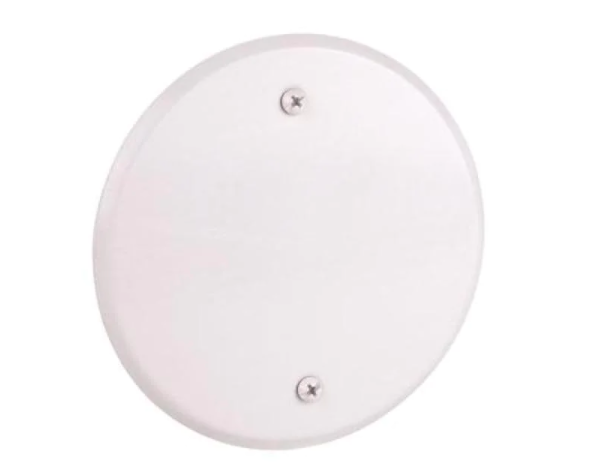
1 ceiling box cover with screw hole(s) (if your current one does not have exposed holes)
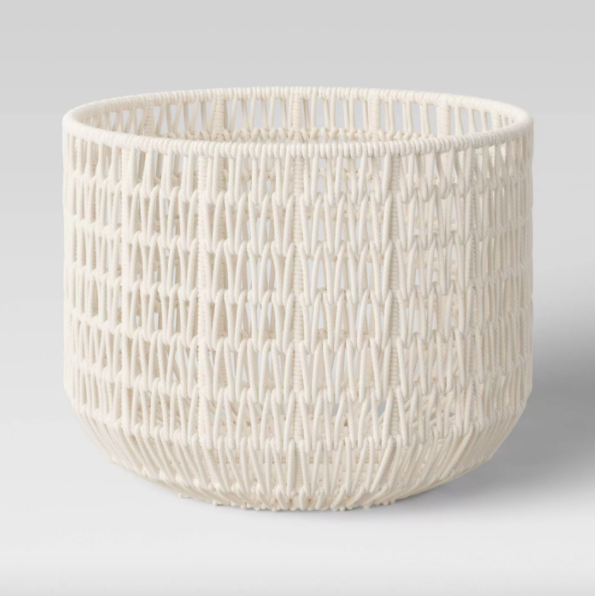
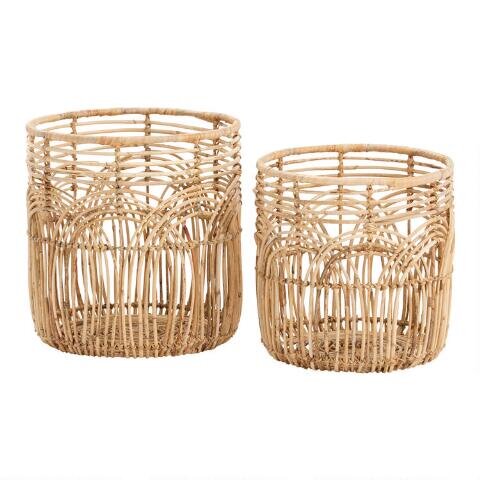
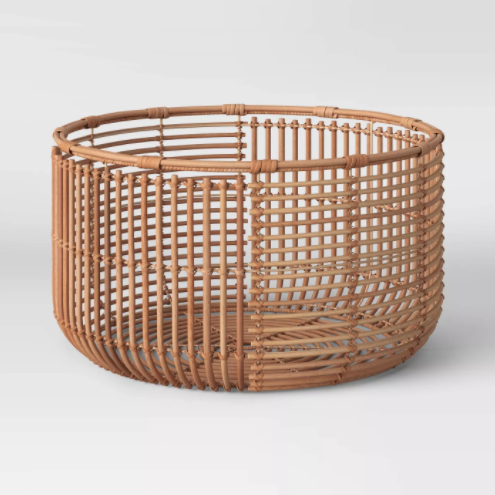
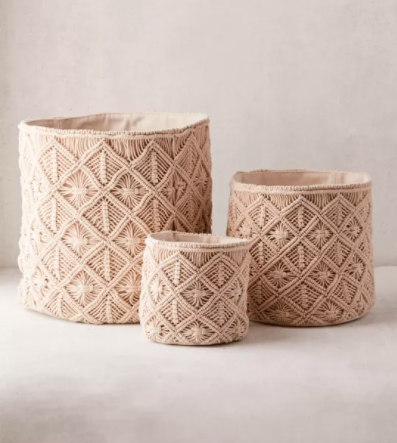
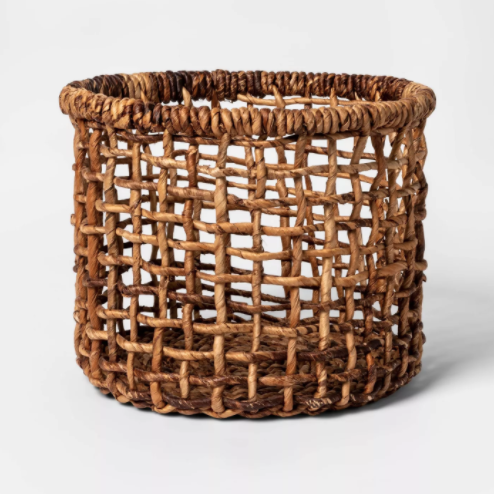
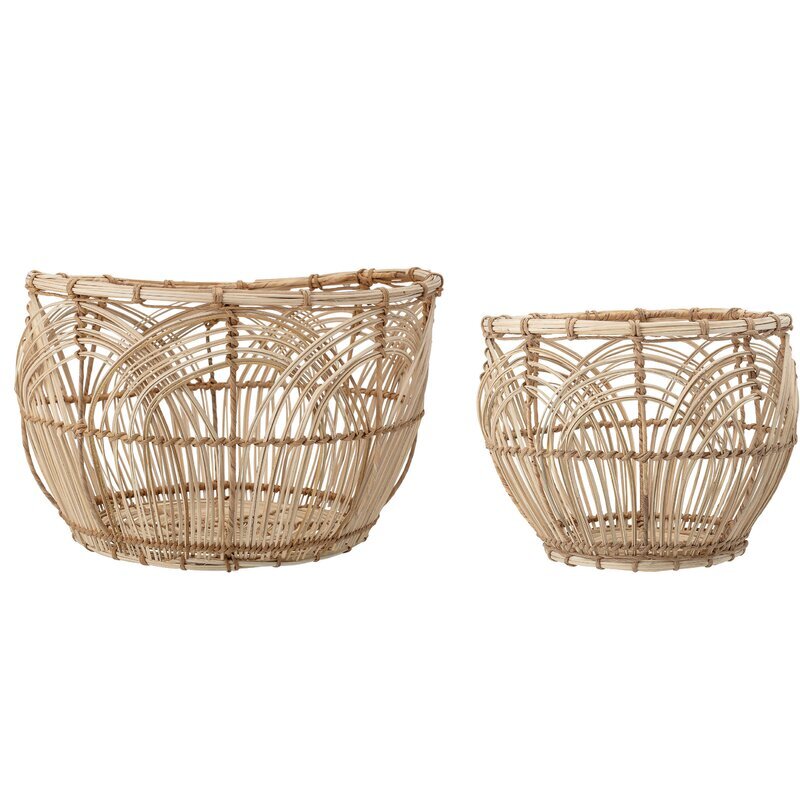
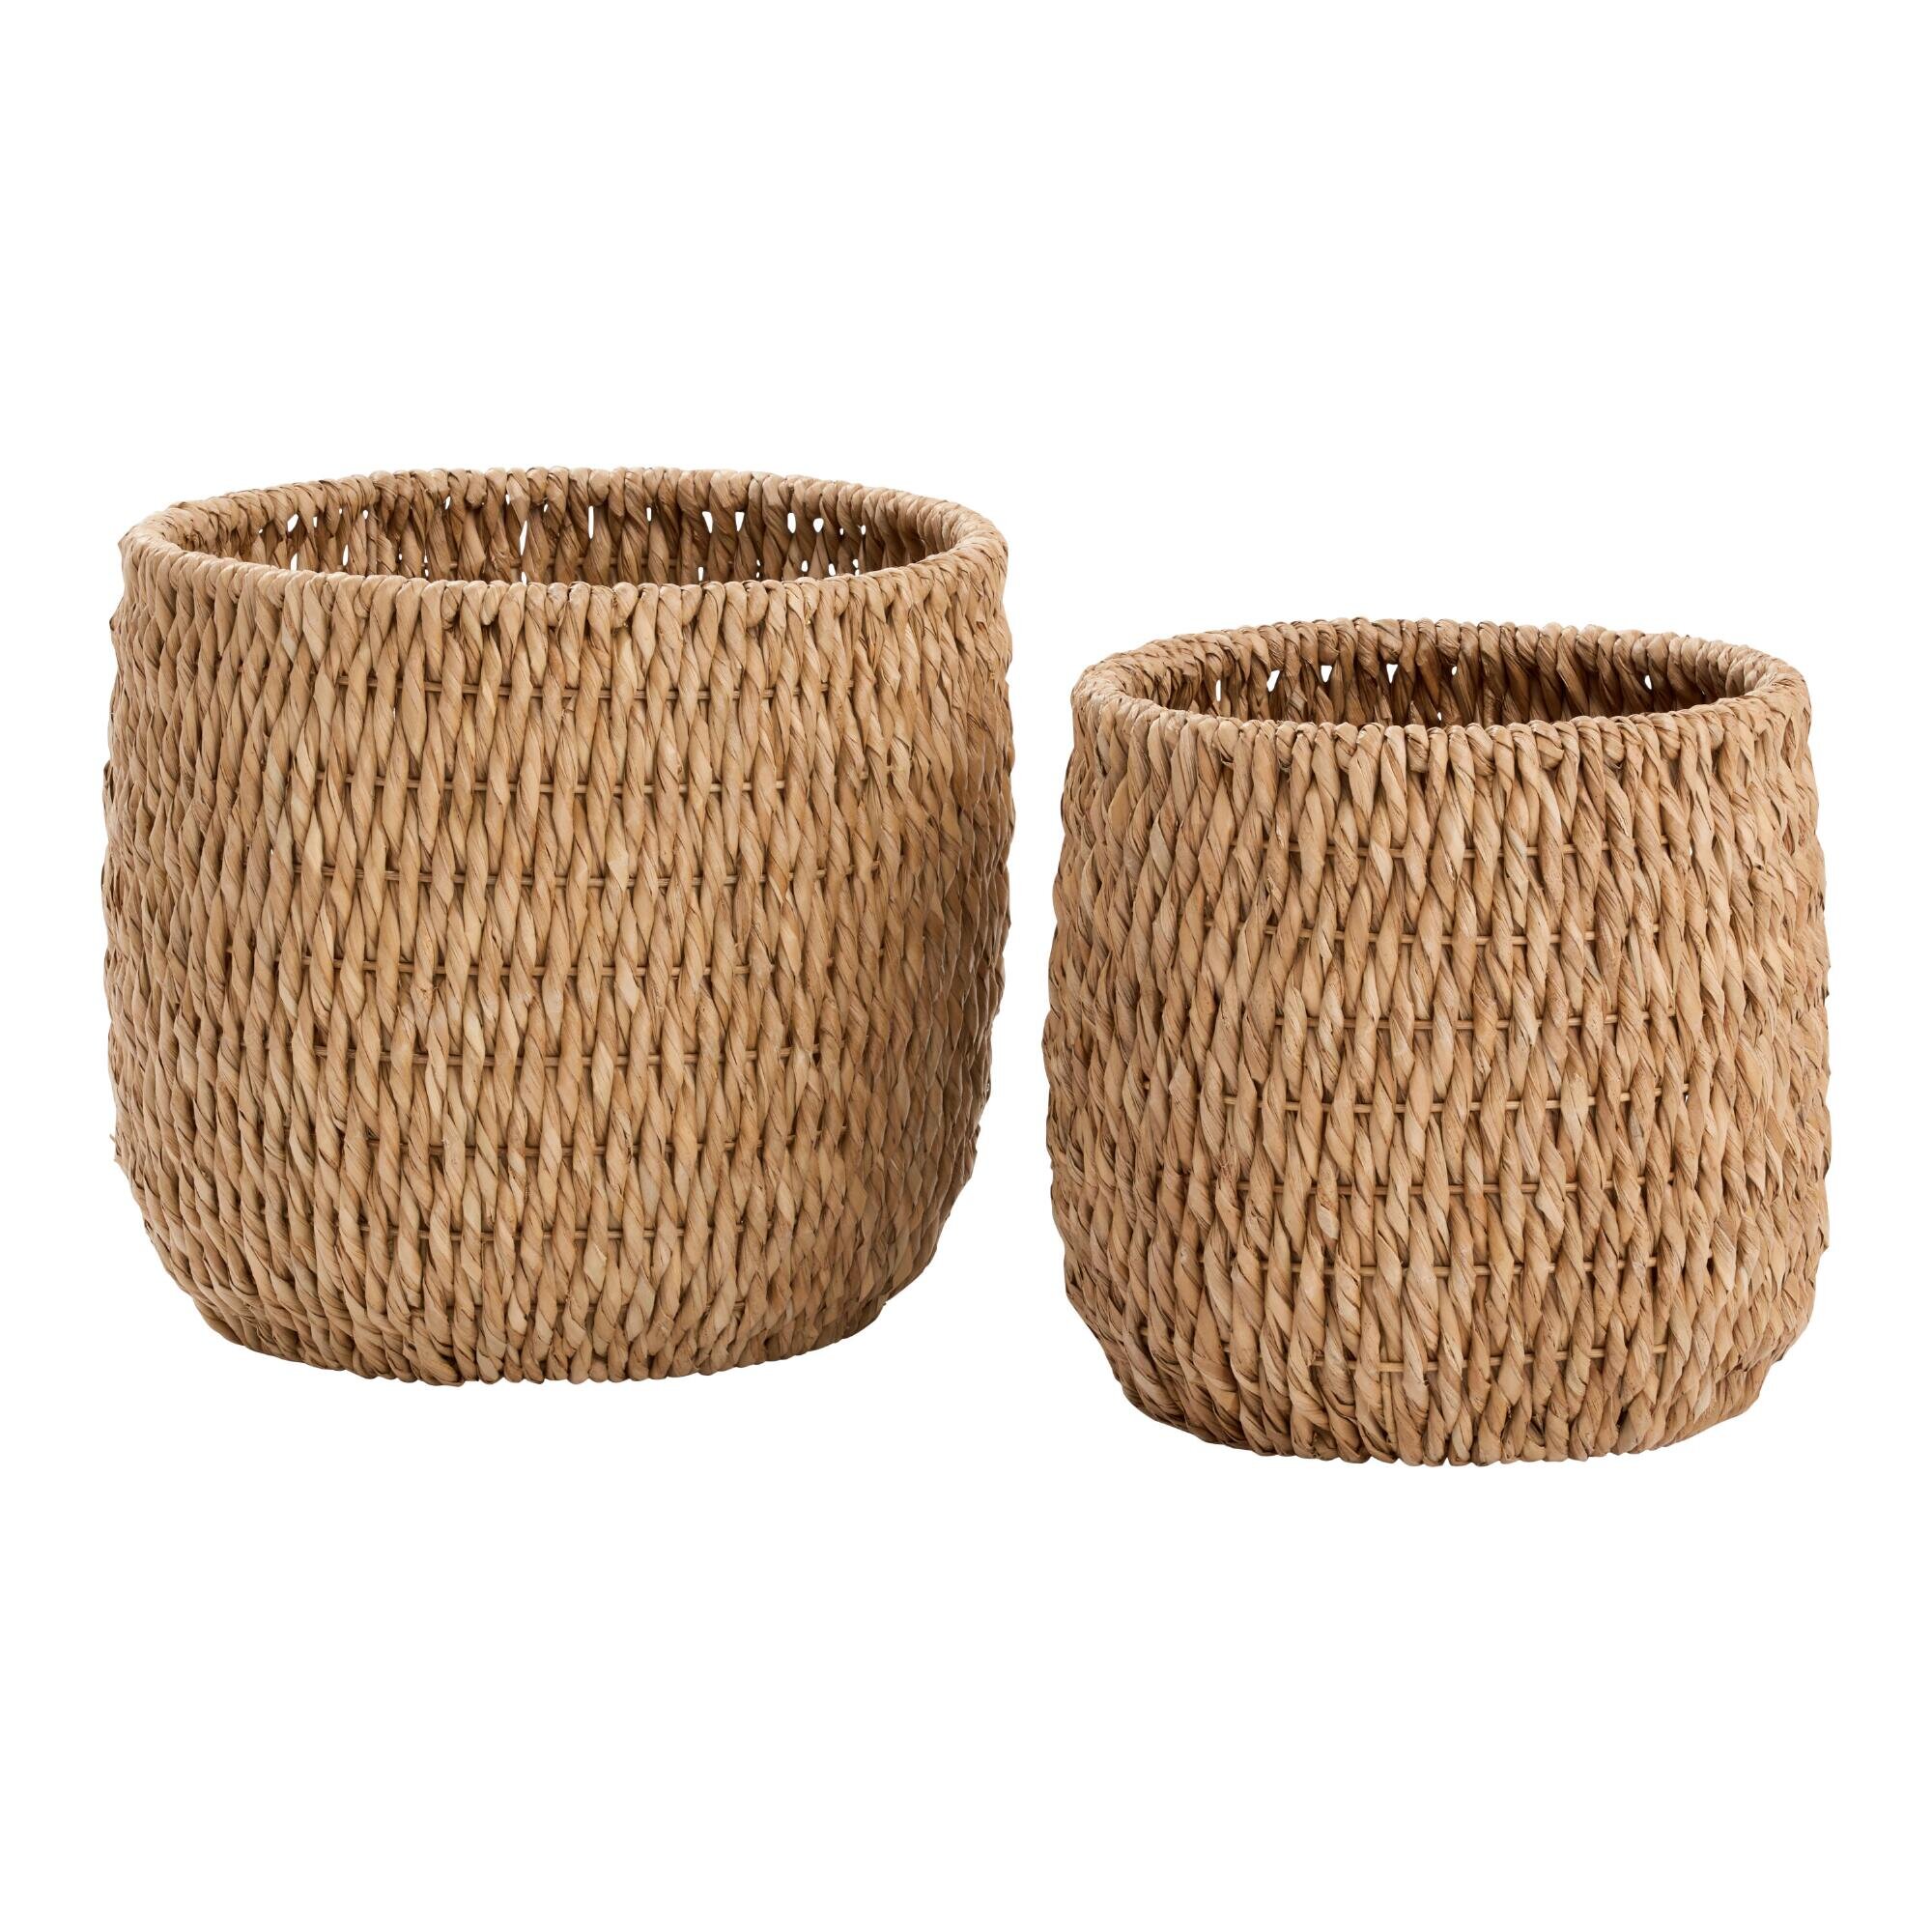
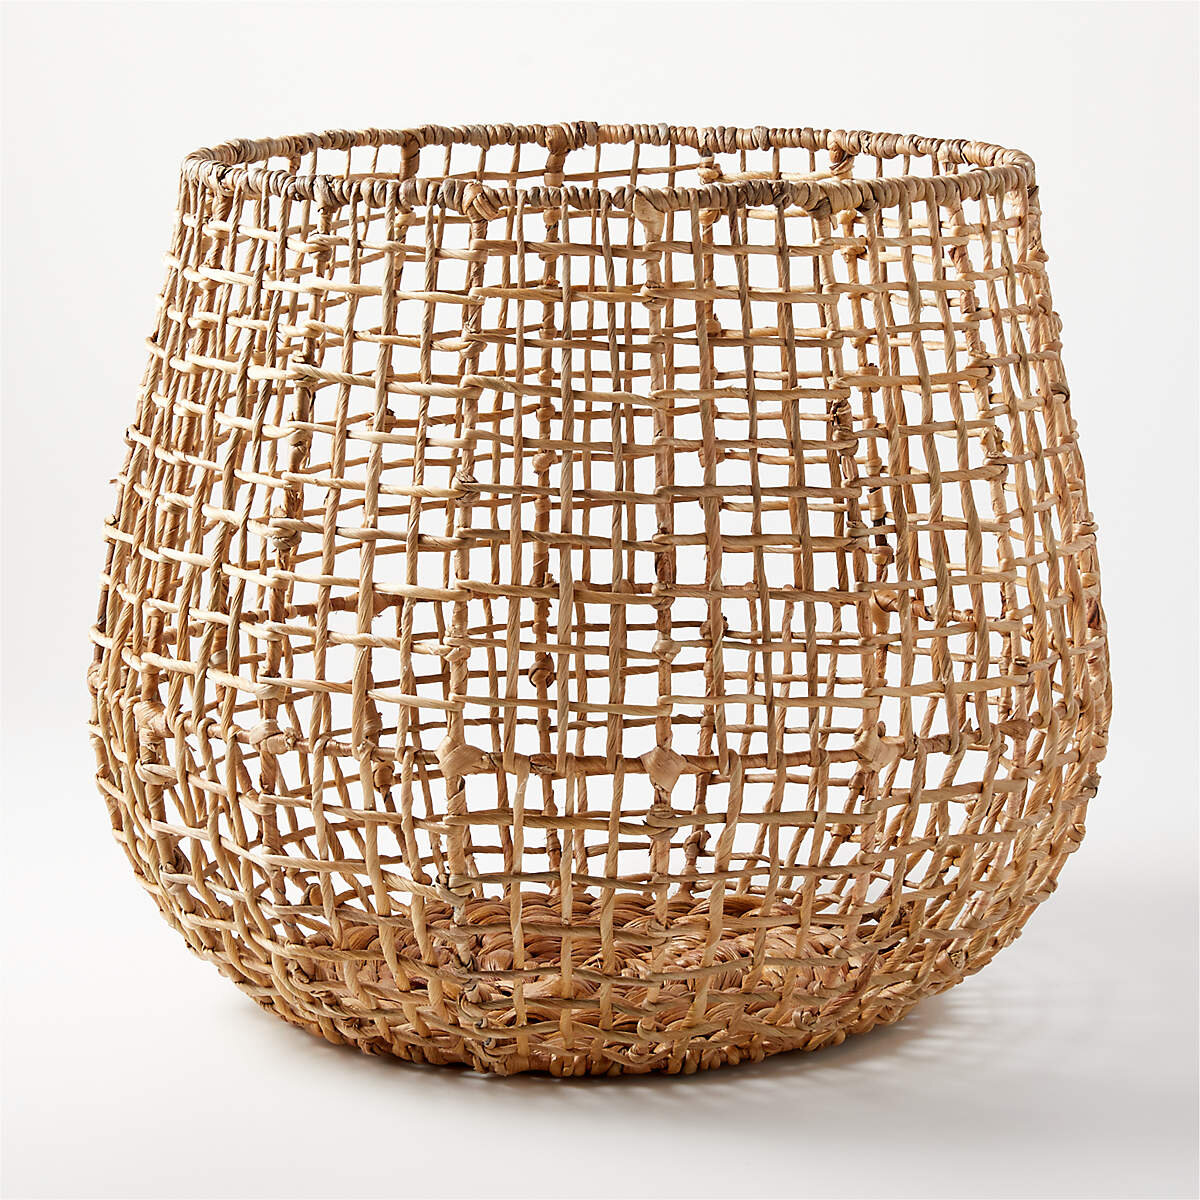
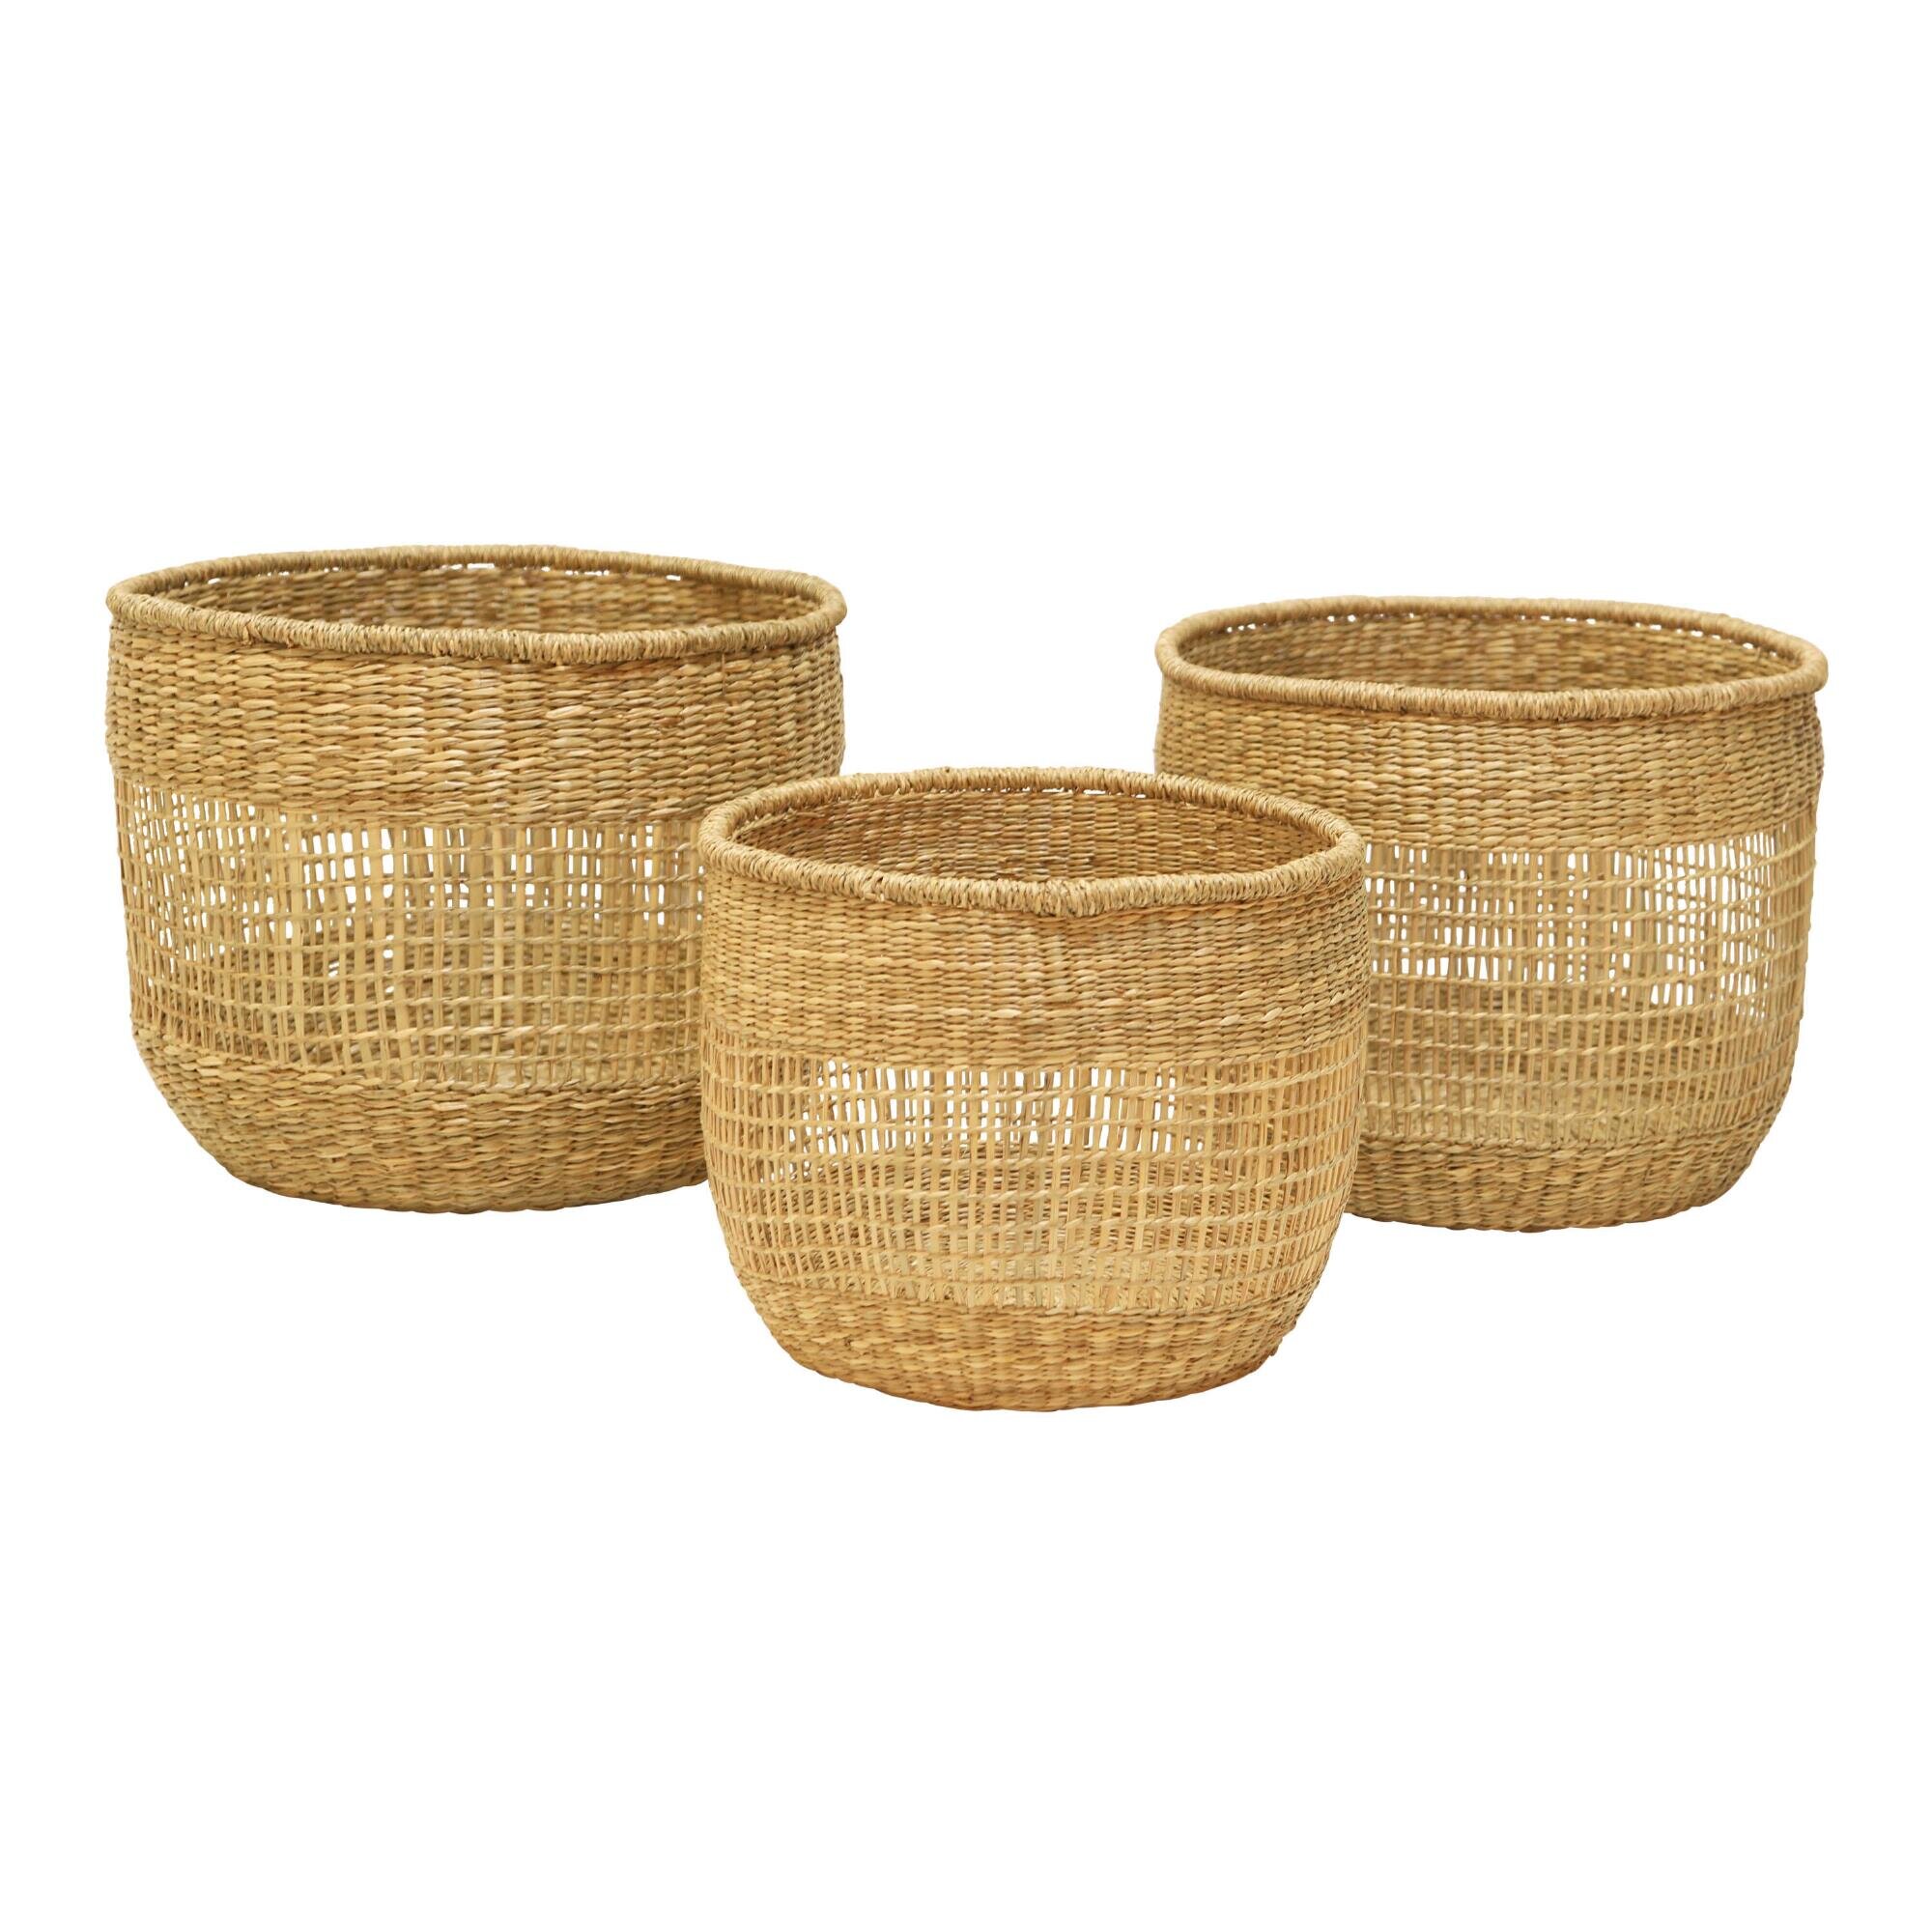
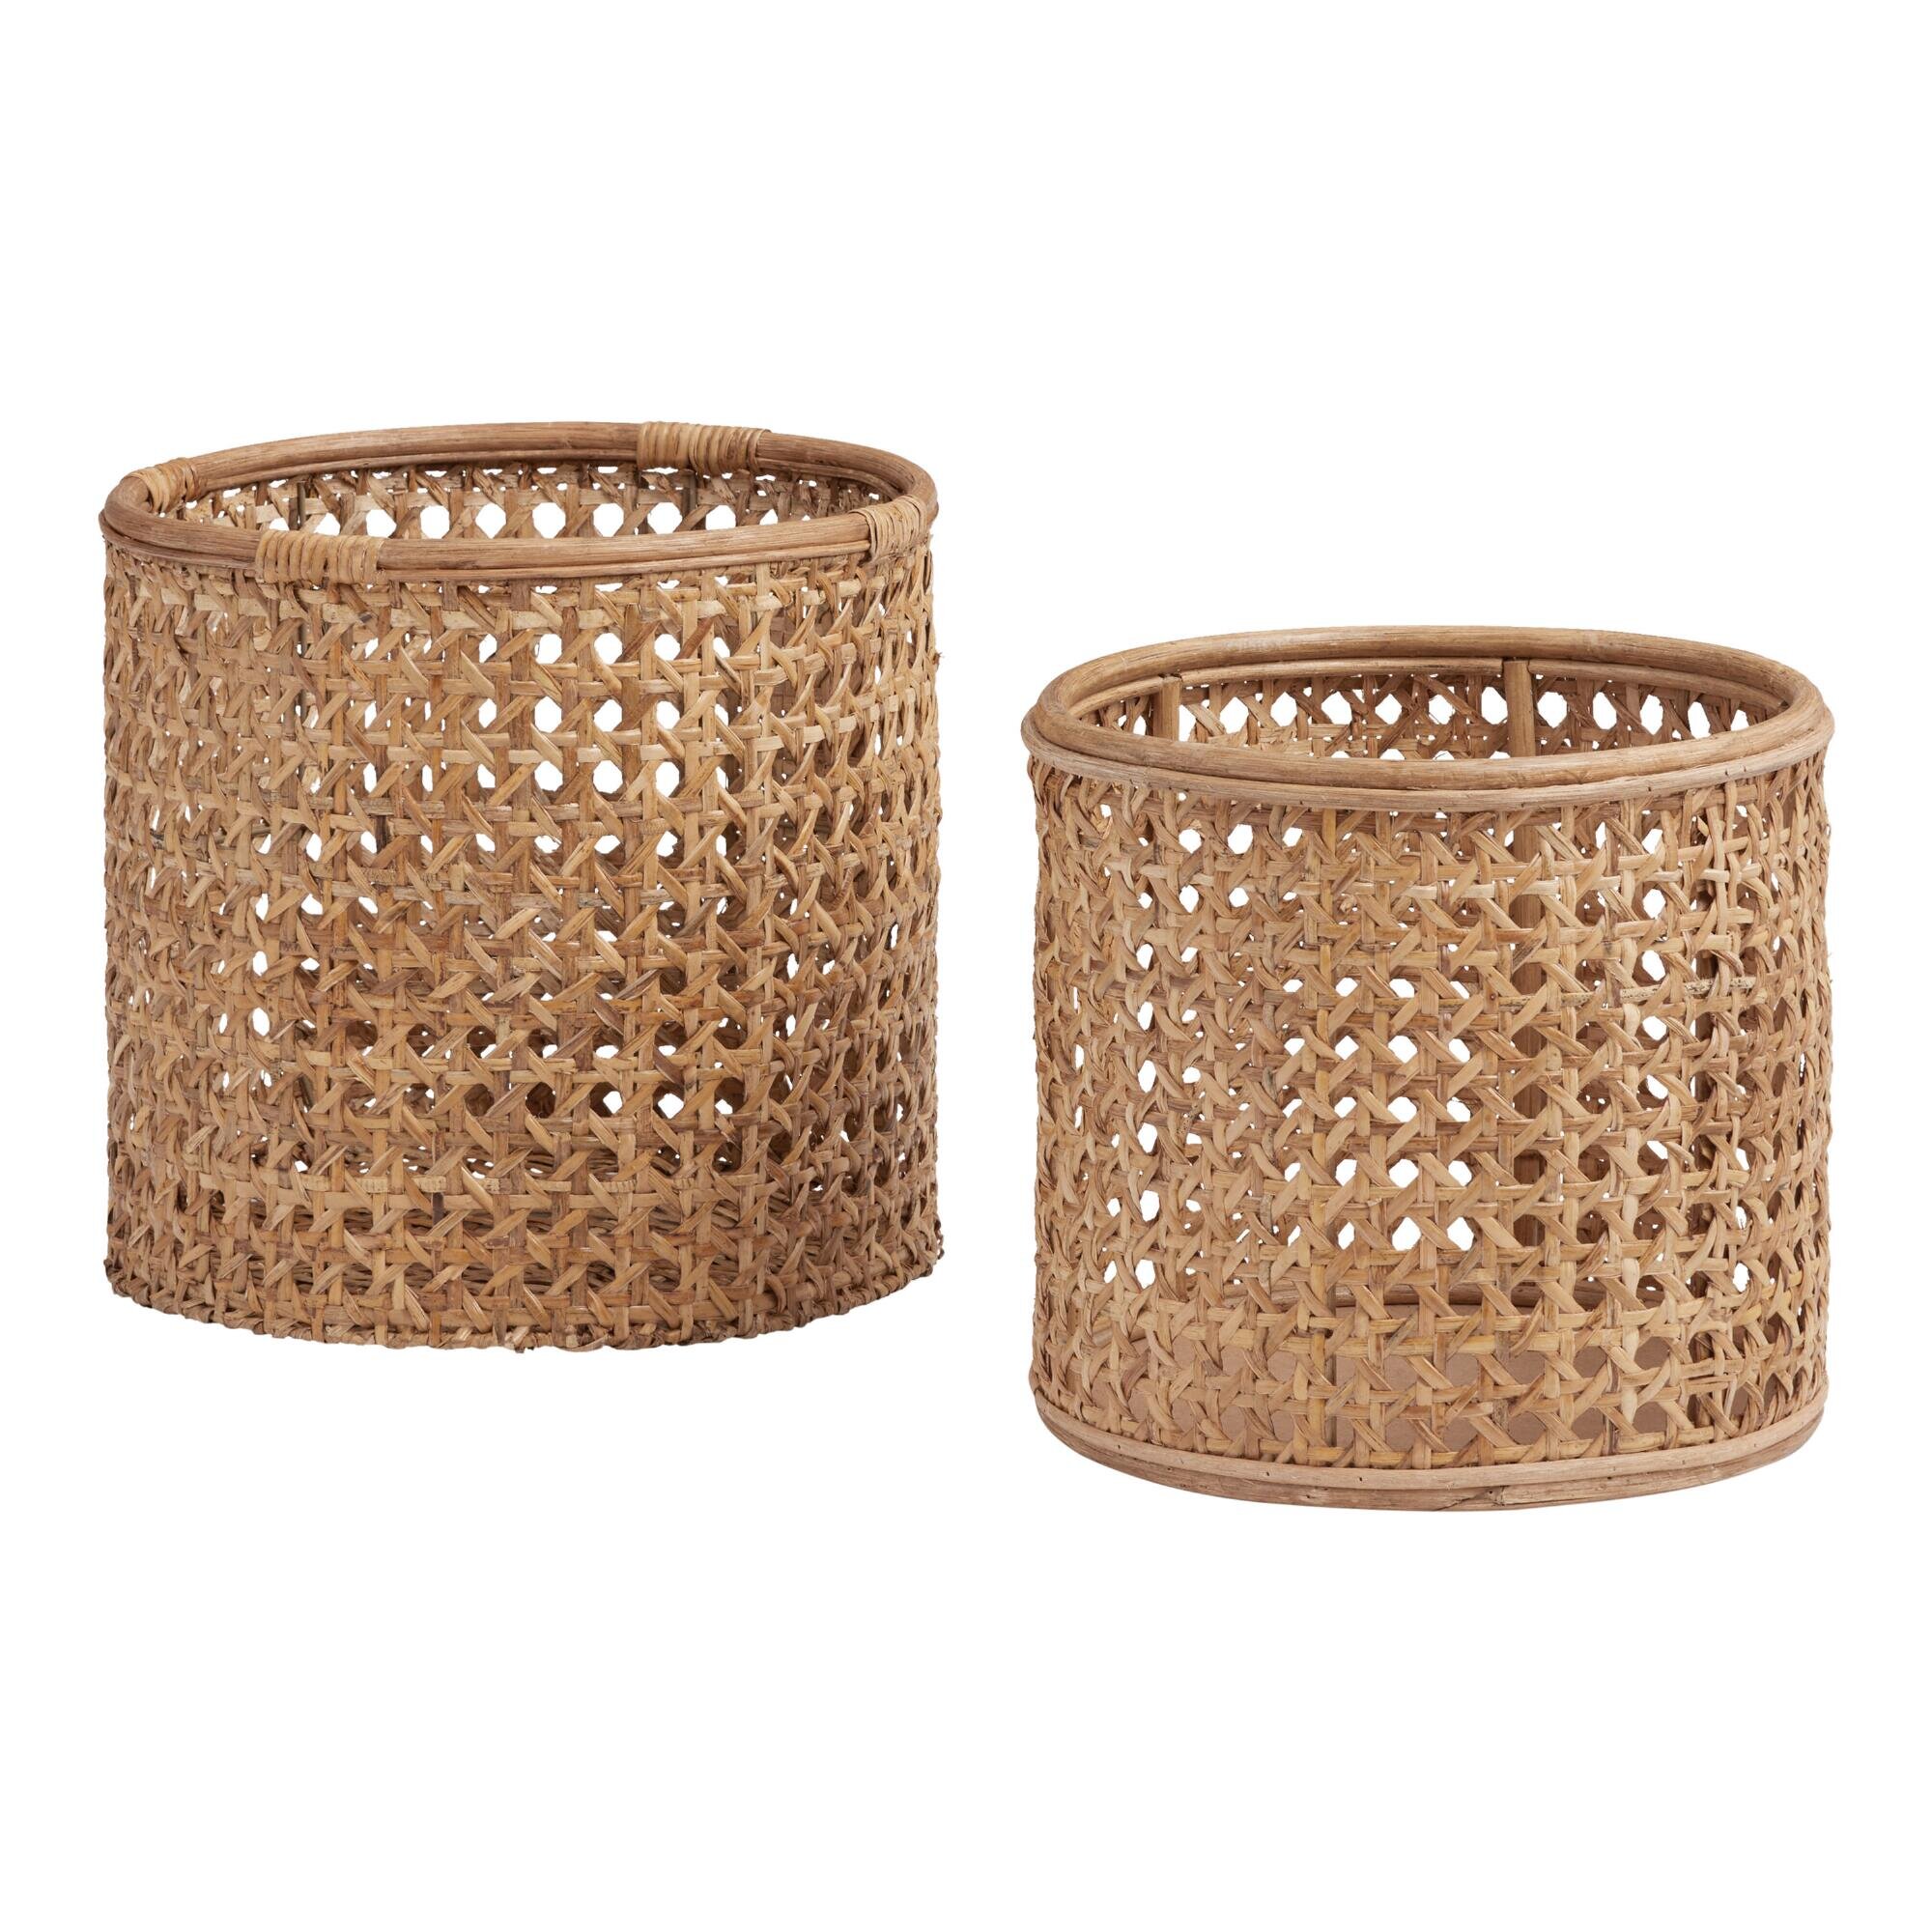
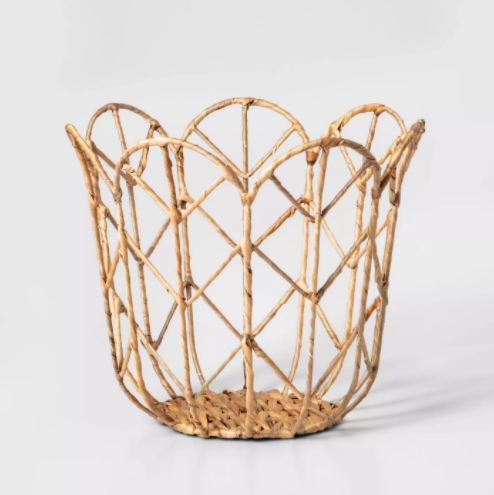
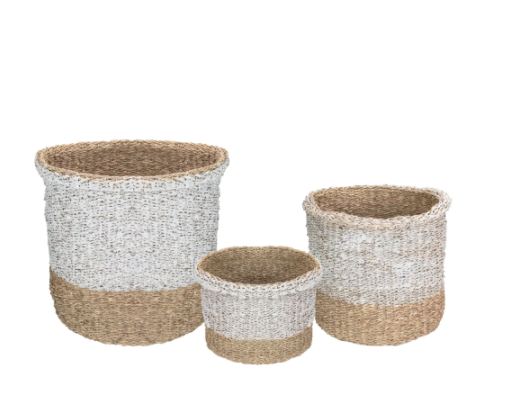
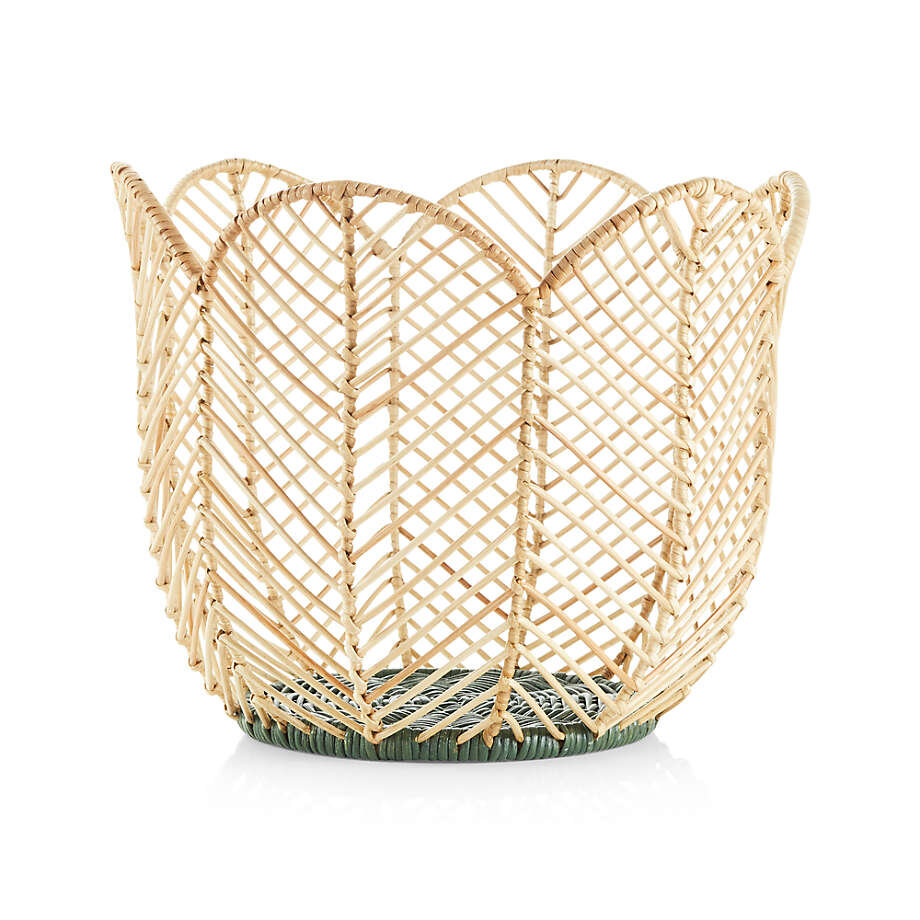
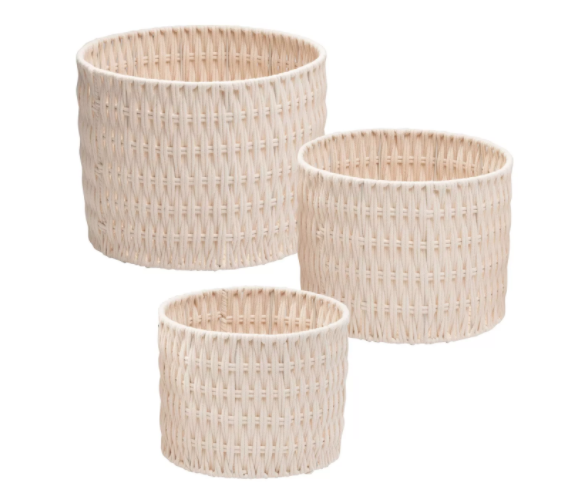
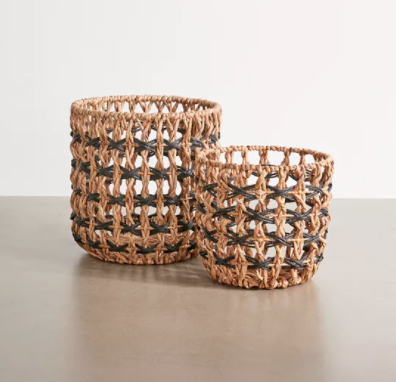
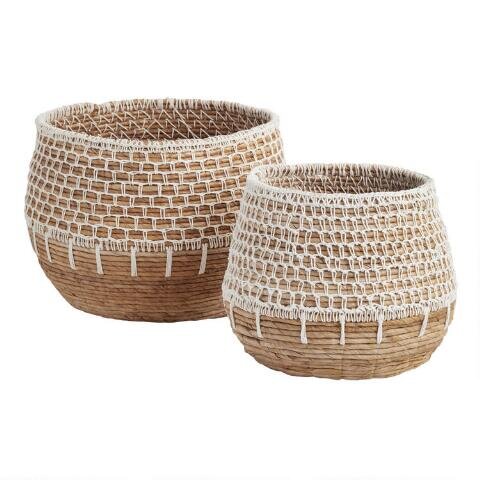
Need some basket inspo?
I linked the one I used above but here are some others you might like as well! You’ll find tons of basket inspiration for your light fixture below, from rattan, to woven, rope, bamboo, wicker, and more!
Step 1
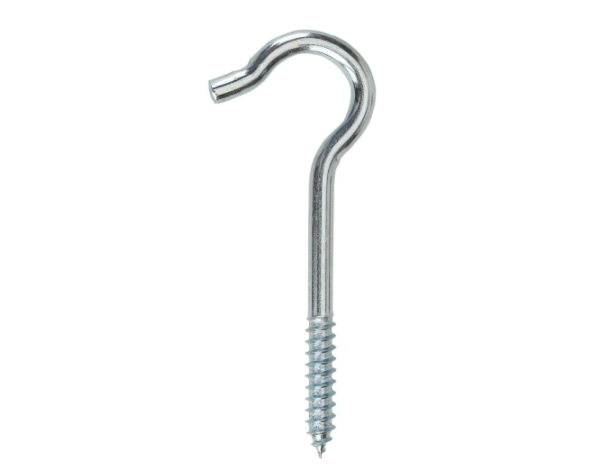
Remove the screws from your ceiling box cover and replace them with the screw hooks. If you don’t already have a cover that has exposed screw holes, you can buy one at your local hardware store.
Step 2
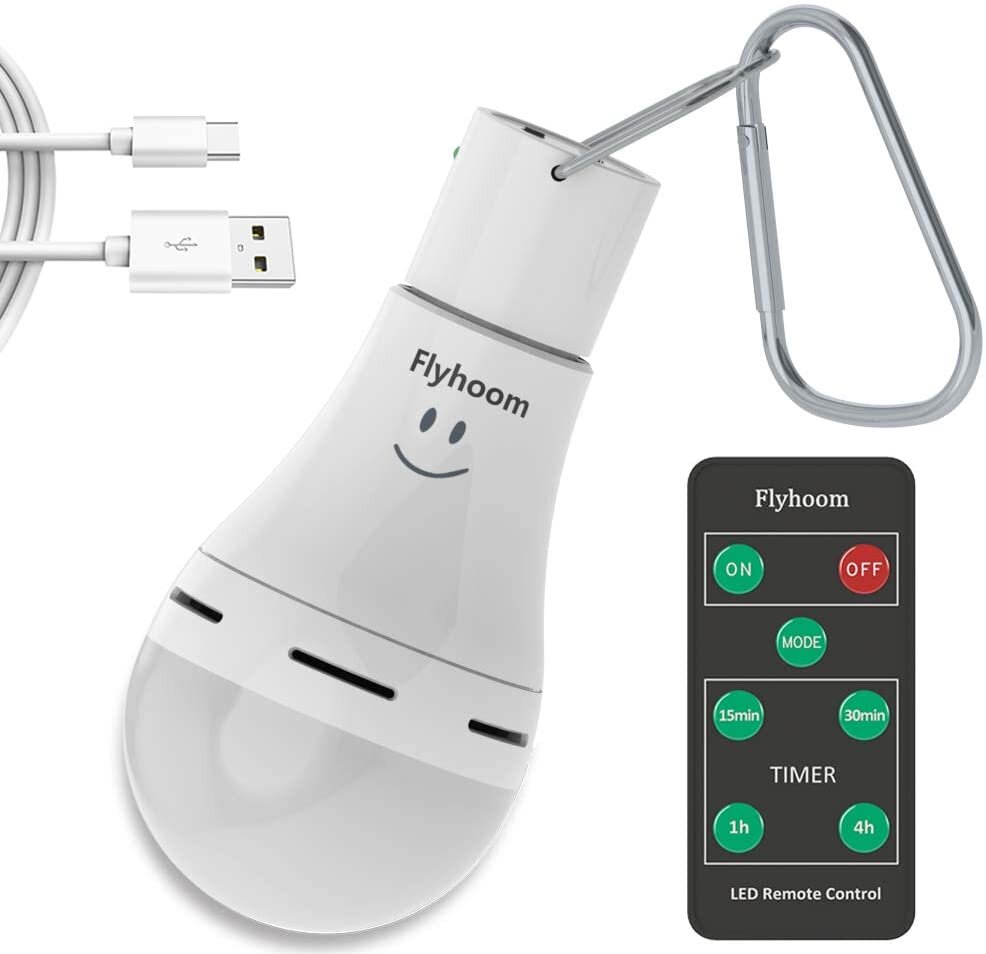
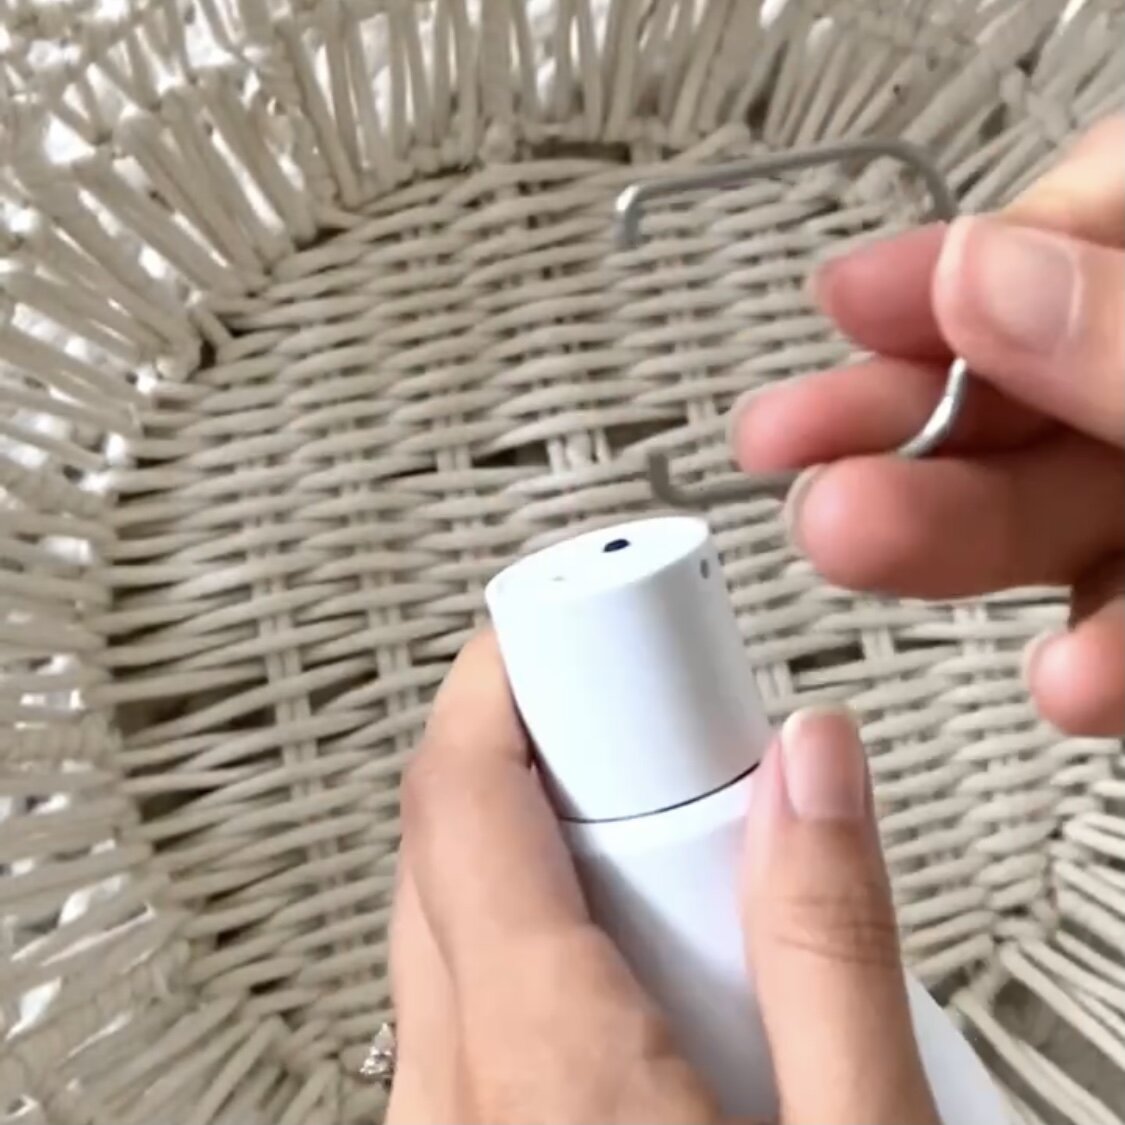
Remove the metal hanger from the cordless lightbulb, loop it through the inside center of the basket, then reattach the hanger to the lightbulb. This will secure the lightbulb to your basket.
Step 3
It’s time to hang it up! Align your basket so that the ceiling box cover is centered to the bottom of the outside of the basket. Push up towards the ceiling and loop the hooks through the open weaves of the basket. You may need to twist and move the hooks to adjust the placement.
Love the hats on my wall? I have my entire hat collection linked here
Wondering how to hang hats on your wall? Read my hat wall tutorial

